Pallet Hat Rack
My first "scrounging for materials" project. Found free pallets behind Northern Tool & Equipment, cut them to fit in my car, and built a simple wall-mounted hat rack with wooden pegs.
1 weekend
July 2025
Materials
Techniques
Tools Used
Gallery
Build Notes
Fresh off my Woodshop 101 class, I was eager to build something on my own. The problem? I didn't have any wood. That's when I learned about the wonderful world of free pallets.
The Hunt for Free Wood
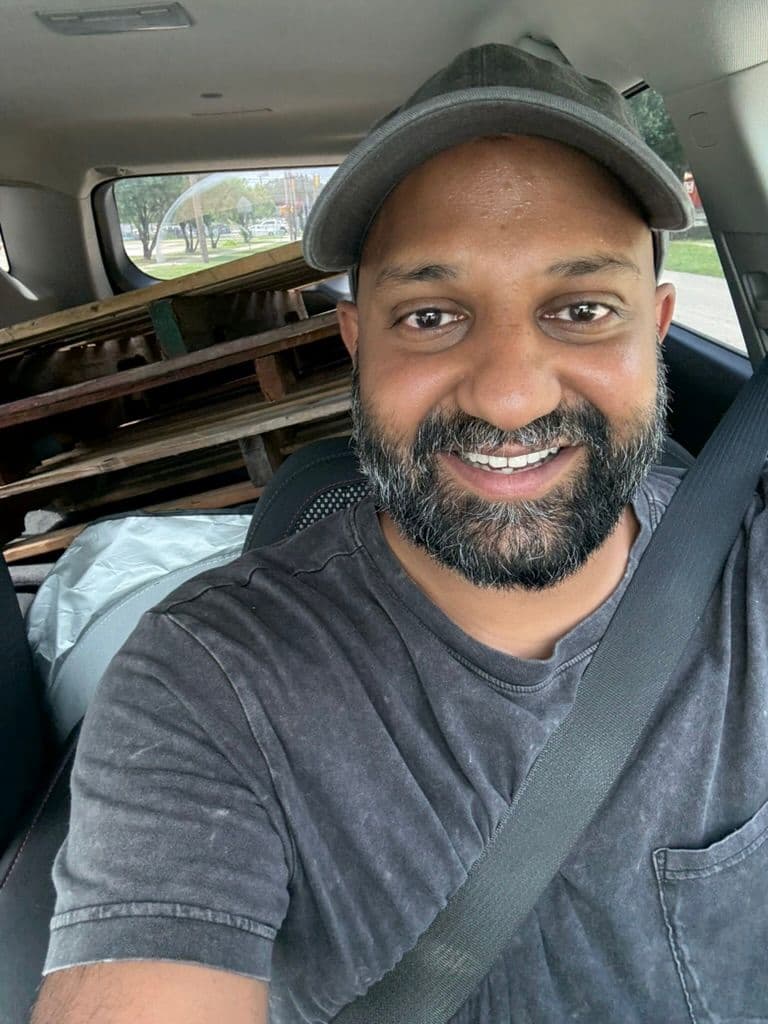
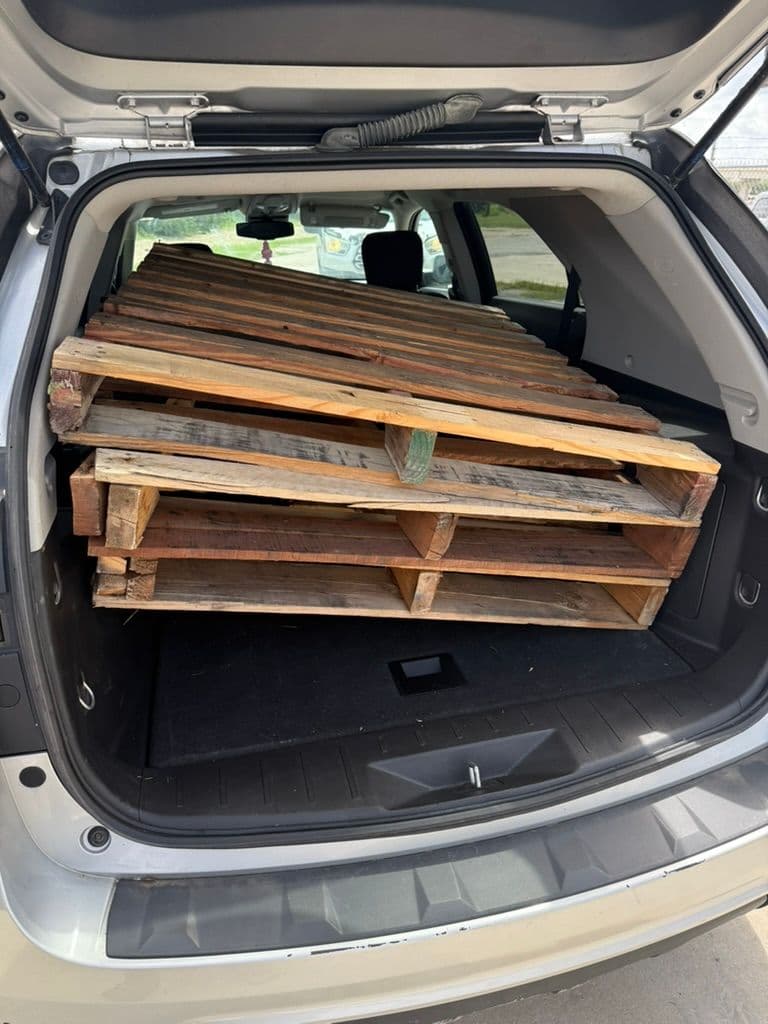
I spotted a stack of pallets behind Northern Tool & Equipment and decided to just ask. Walked in, found someone who worked there, and asked if I could take them. The answer? "If you come load them up, they're yours. Just don't make a mess."
About that "don't make a mess" part...
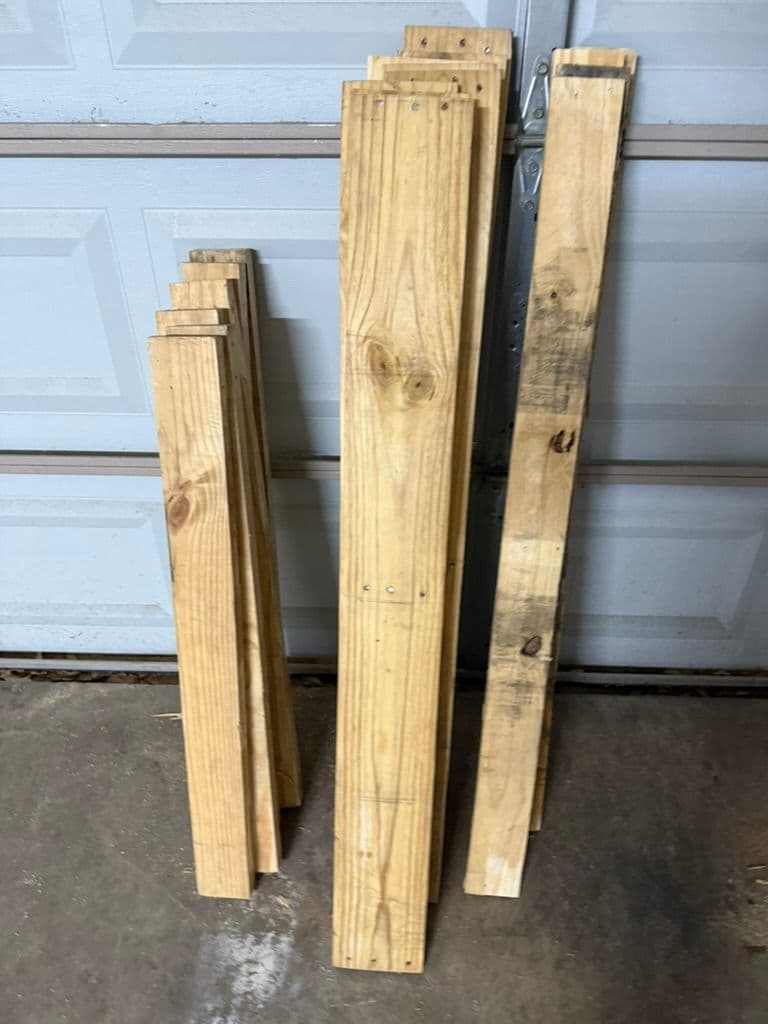
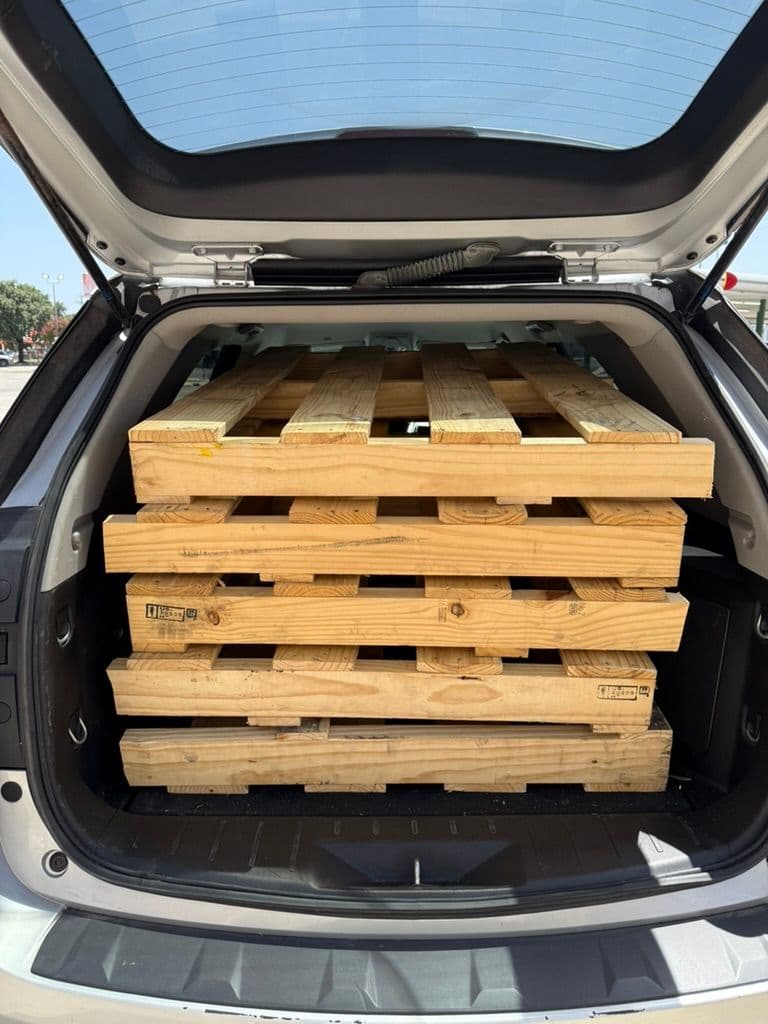
The pallets were too big to fit in my car. So there I was in the parking lot with my brand new DeWalt 20V XR circular saw, cutting pallets down to size. I came prepared though – brought a broom and dustpan to clean up the sawdust. Still made kind of a mess, but I cleaned it up!
I also found some other pallets in the same parking lot that fit without needing to be cut. Loaded everything into the car and headed home with my haul.
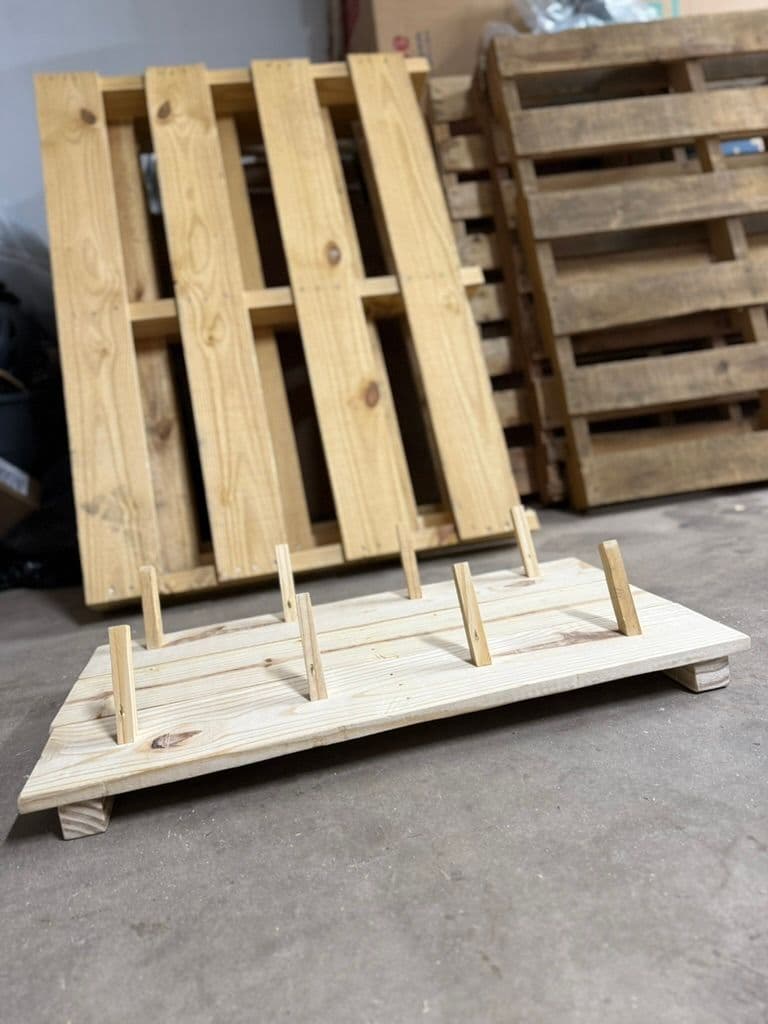
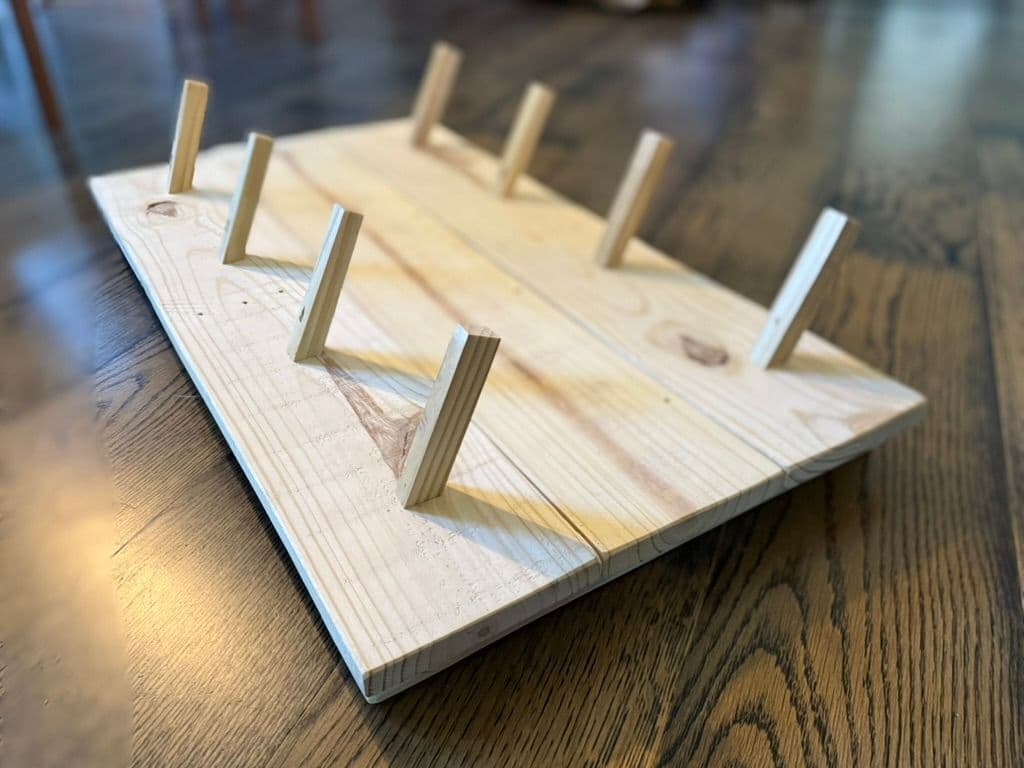
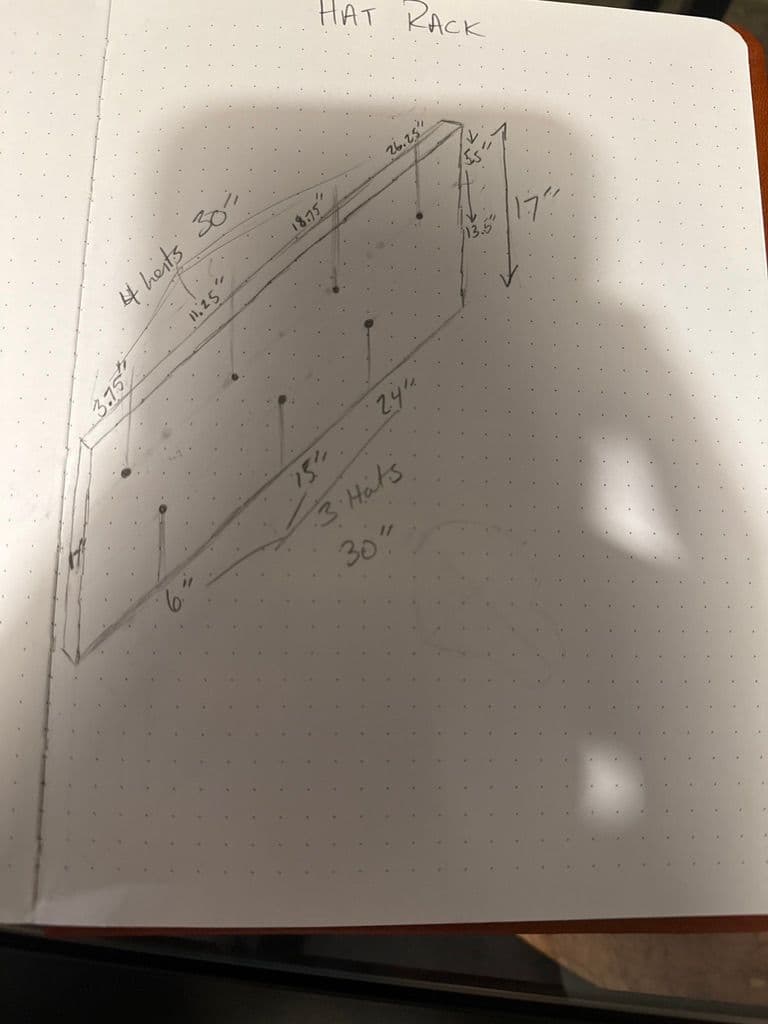
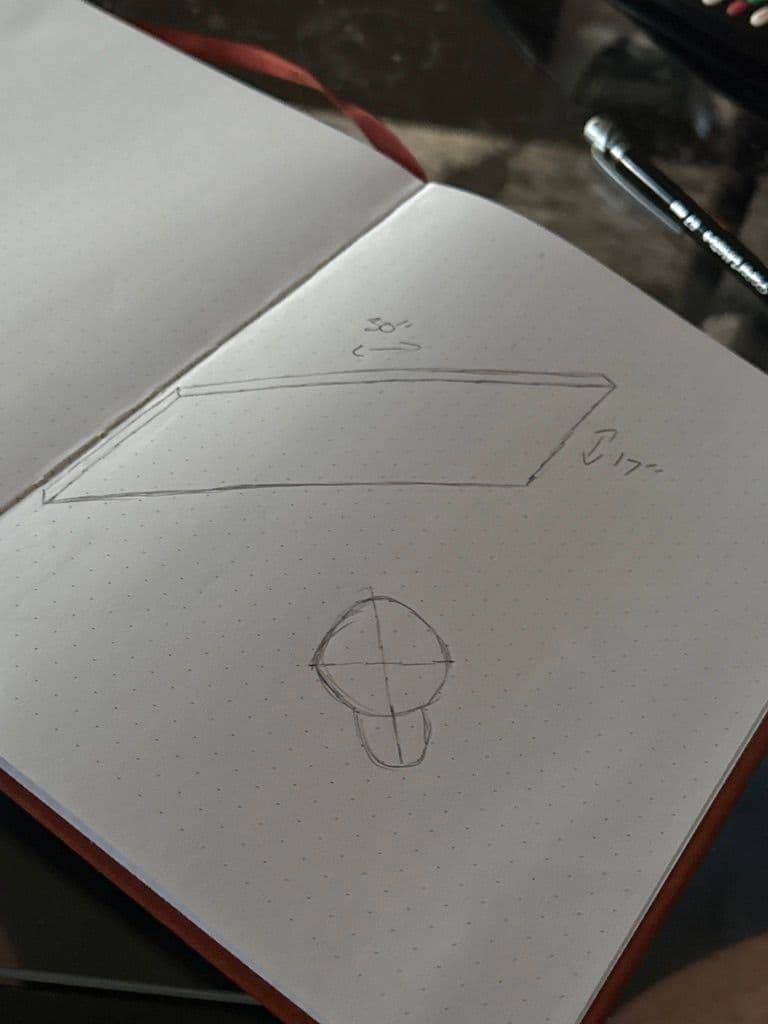
Building the Hat Rack
The idea was simple: a board with pegs to hang hats on. I'd picked up a miter saw from Facebook Marketplace for $80, which was my first real power tool purchase for the home shop.
The whole thing was very much "figuring it out as I go." I:
• Sanded down the pallet boards to smooth out the rough surfaces
• Cut some wooden pieces for pegs using the miter saw
• Attached the pegs to the board – honestly, I just nailed them on
• Secured a perpendicular piece or two on the back to keep everything together
Lessons Learned
This project was all about just doing something. No fancy joinery, no perfect finish – just getting hands on tools and making something functional.
Key takeaways:
• Free materials are everywhere if you're willing to ask
• Always bring cleanup supplies when scrounging
• Facebook Marketplace is great for starter tools
• "Good enough" is perfectly fine when you're learning
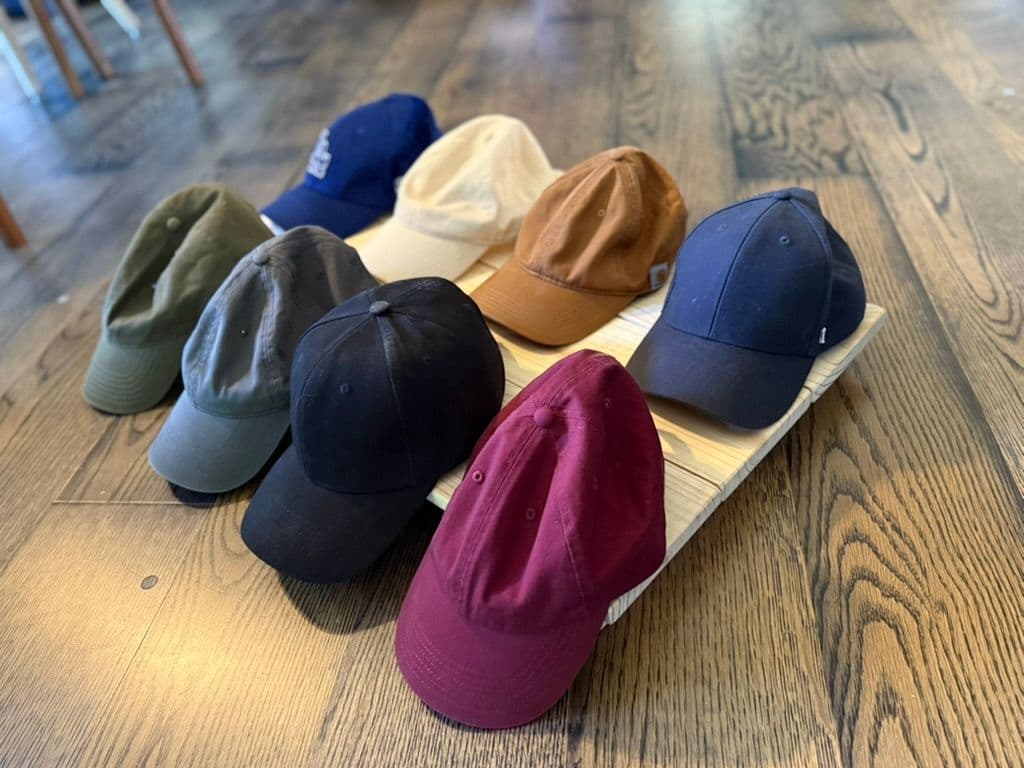
The hat rack works great and I use it every day. Is it perfect? No. Did I learn a ton? Absolutely. And that's really what these early projects are all about.